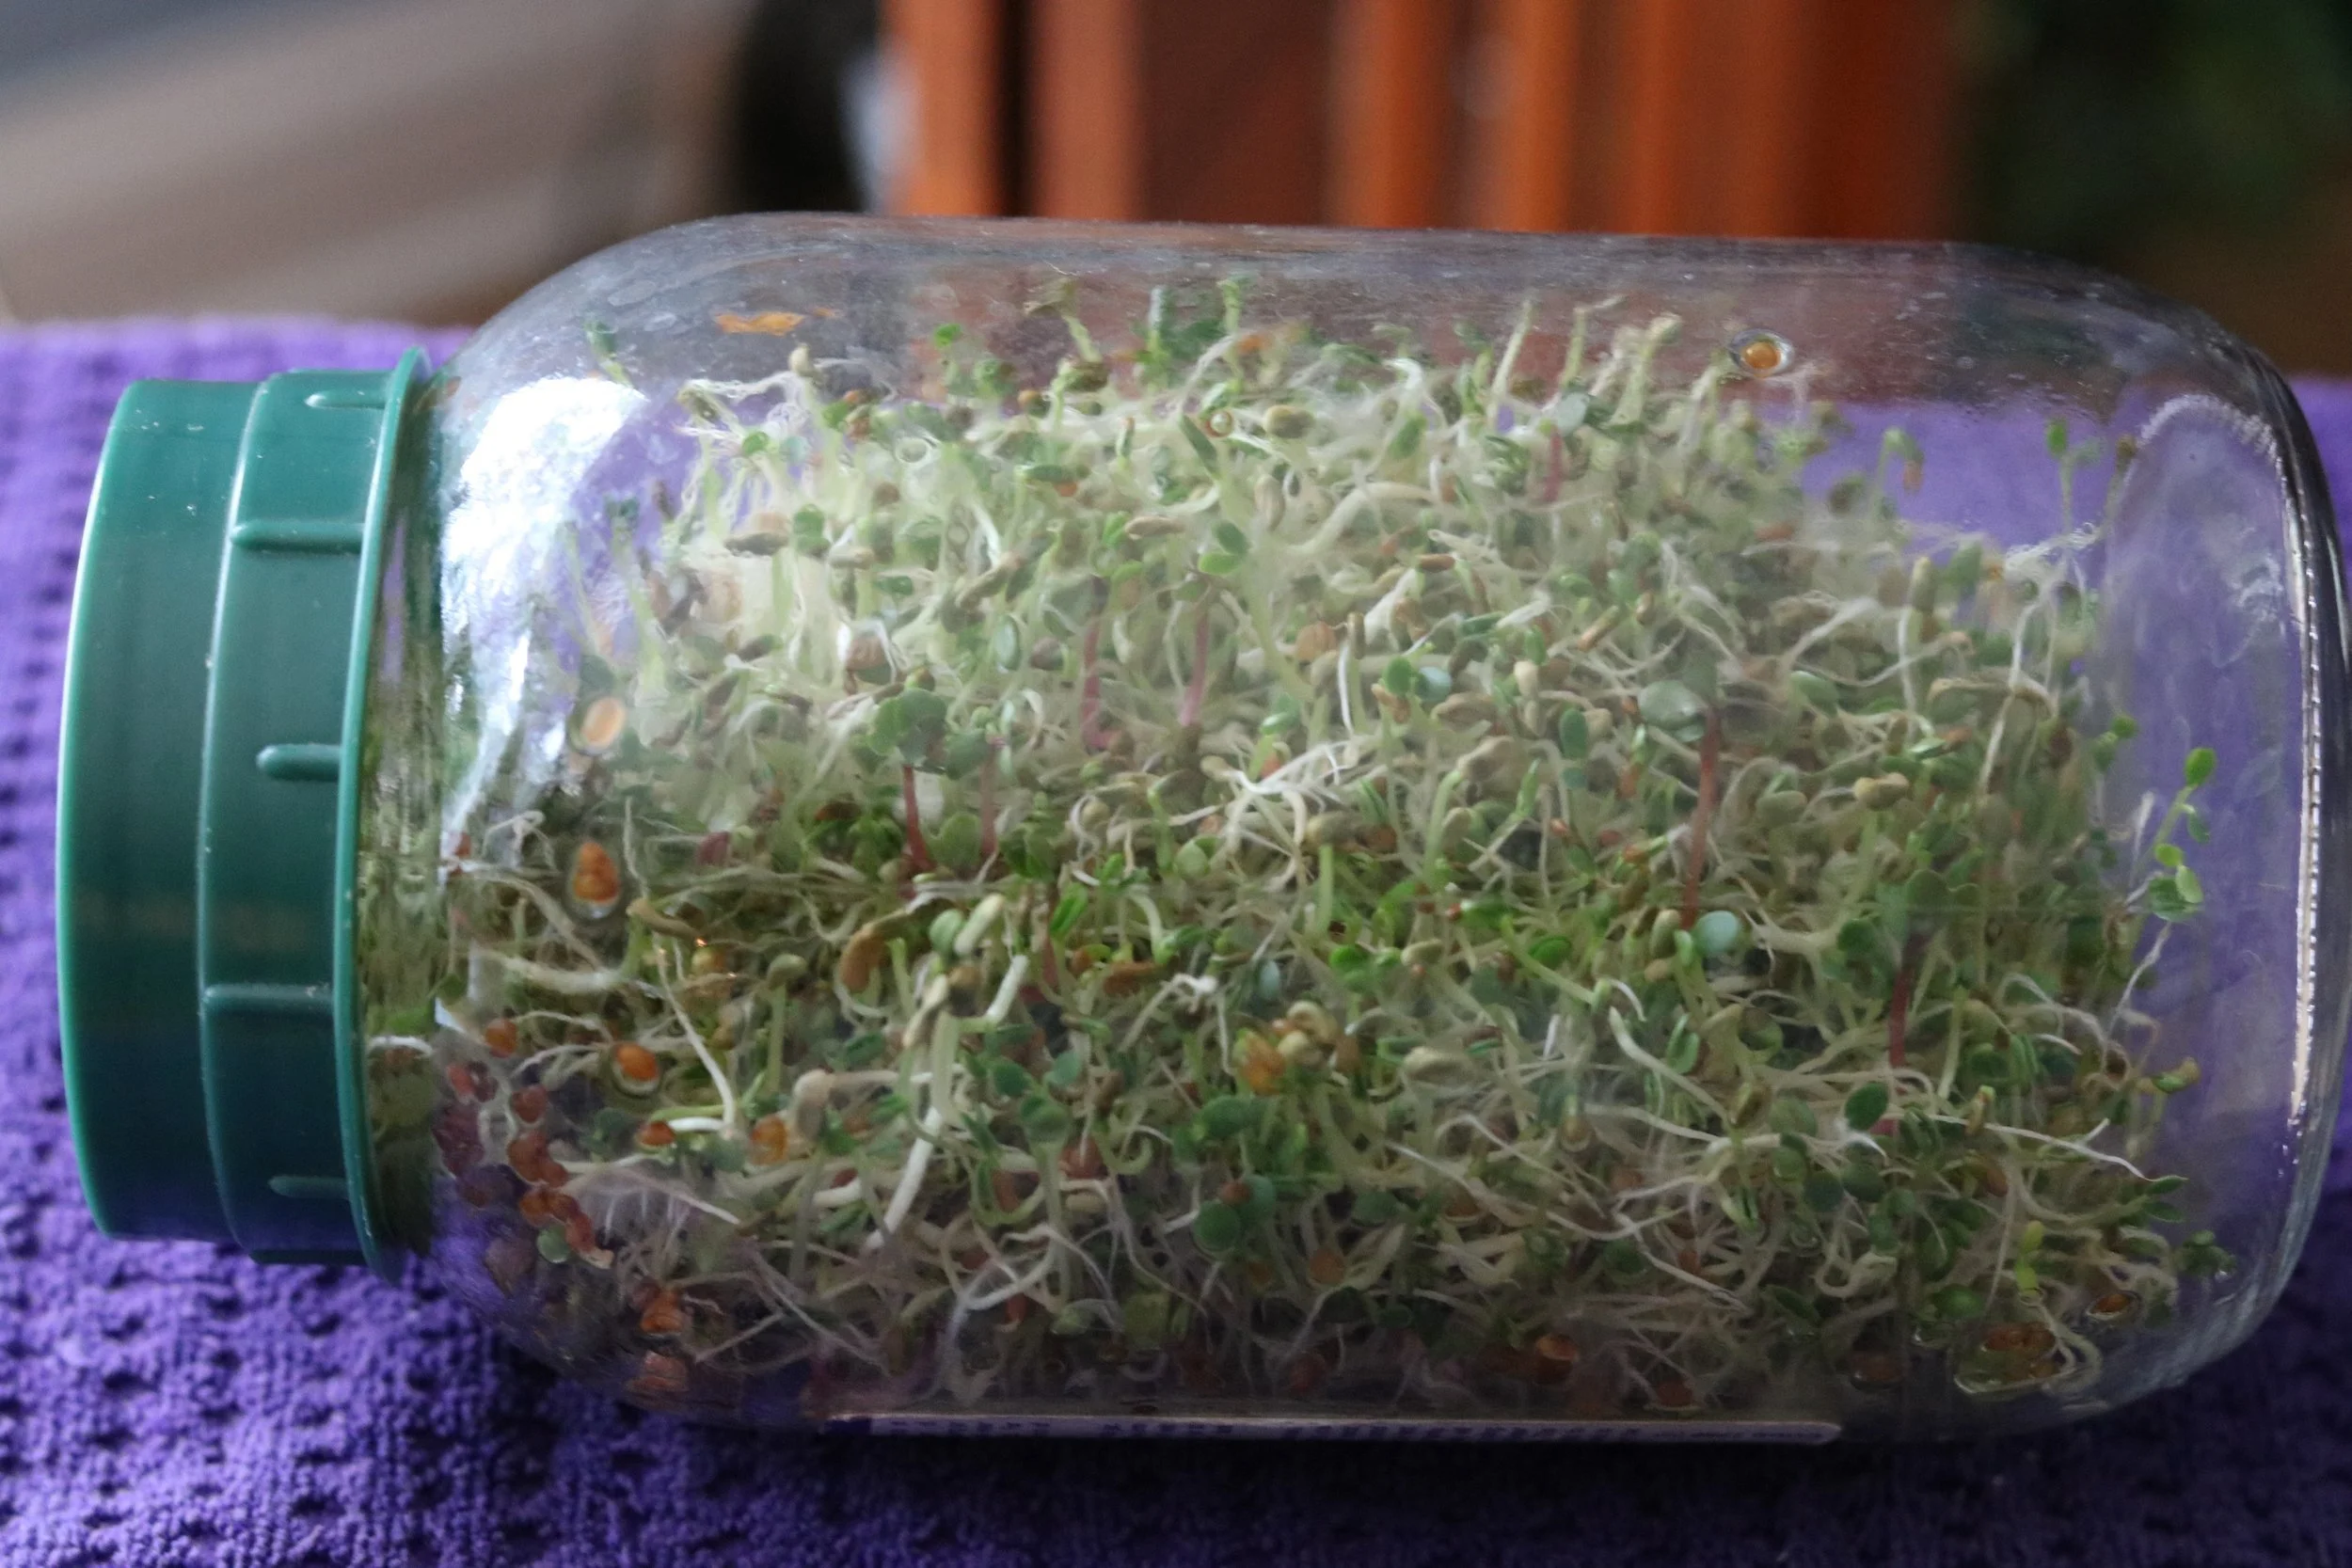
How to Grow Sprouts at Home
Sprouting Seeds of Health: A Beginner's Guide to Growing Sprouts in a Mason Jar
By Karen Kornick RN VeggieVibesRN.com
Looking to add a burst of freshness and nutrition to your meals? Look no further than sprouts! Sprouting process increases the nutrient levels, including protein and fiber.
Helps release enzymes in the plant, which allows for minerals to be freely absorbed.
Sprouted seeds have more vitamin C, B vitamins and antioxidants that materialize at higher concentrations.
1 cup of broccoli sprouts equals 50 cups of broccoli due to the sulforaphane in the sprouts
These tiny powerhouses of nutrition are packed with vitamins, minerals, and enzymes, making them a fantastic addition to salads, sandwiches, wraps, and more. Plus, growing sprouts at home is easy, affordable, and requires minimal equipment. In this blog post, we'll walk you through the simple process of growing sprouts in a mason jar, starting with just 2 tablespoons of sprouting seeds.
Getting Started:
Here's what you'll need to get started:
1 wide-mouth mason jar (quart size works well)
1 sprouting lid or mesh screen
2 tablespoons of sprouting seeds (such as alfalfa, broccoli, radish, mung bean, or lentil)
Filtered water
A bowl or dish for rinsing and draining
Step 1: Prepare Your Seeds
Start by measuring out 2 tablespoons of sprouting seeds of your choice. Rinse the seeds thoroughly under cool, running water to remove any dust or debris. Then, place the seeds in the mason jar.
Step 2: Soak the Seeds
Fill the mason jar with enough filtered water to cover the seeds by about 2 inches. Attach the sprouting lid or mesh screen to the jar, securing it in place with the metal ring. Allow the seeds to soak in the water for 8-12 hours, or overnight, at room temperature.
Step 3: Rinse and Drain
After the seeds have finished soaking, drain the water from the mason jar by gently tipping it upside down over a sink or bowl. Use the sprouting lid or mesh screen to strain out the water while keeping the seeds inside the jar. Rinse the seeds thoroughly under cool, running water, then drain off any excess water.
Step 4: Sprout Away!
Place the mason jar upside down at a slight angle in a dish or bowl to allow any remaining water to drain out. Position the jar near a window or on a countertop out of direct sunlight. Over the next few days, continue to rinse and drain the seeds twice a day, morning and evening.
Step 5: Harvest Your Sprouts
Harvest your sprouts after about 5+ days, depending on the type of seeds you're sprouting, your sprouts should be ready to harvest. They'll be crisp, fresh, and bursting with flavor! To harvest your sprouts, simply remove them from the jar and give them a final rinse under cool, running water to remove any hulls or seed coats.
Step 6: Greening
When seeds have sprouted, remove sprouts from the jar and clean and dry your jar. Then place sprouts back in the jar and place in indirect sunlight for 8-12 hours. The sprouts will produce chlorophyll and are then ready to be enjoyed.
Lay out any sprouts you don’t eat right away on a linen towel to air dry before storing them away in the refrigerator, where they should keep well for at least a week.
Enjoy!
Once harvested, your sprouts are ready to enjoy! Add them to salads, sandwiches, wraps, smoothies, or any dish that could use a boost of freshness and nutrition. Store any leftover sprouts in the refrigerator in an airtight container for up to a week.
Conclusion:
Growing sprouts at home in a mason jar is a fun and rewarding way to add fresh, nutritious greens to your diet. With just 2 tablespoons of sprouting seeds and a little bit of water, you can enjoy a continuous supply of vibrant, flavorful sprouts right from your kitchen countertop. So why not give it a try? Happy sprouting!

